Contacts – Bulk Mail Merge
The bulk mail merge feature allows you to upload and send a Microsoft Word document to a defined a list of contacts.
- Click Contacts > All Contacts.
- Click Add Bulk Mail Merge.
-
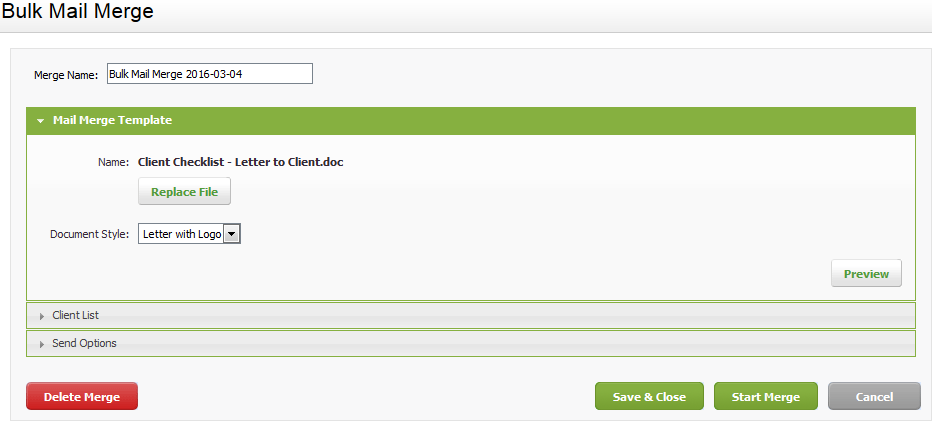
Edit the Merge Name, if required.
The default name is the date. This is used for your internal reference only, for tracking the mail merge status.
- Click Upload file > click Choose File or Browse (button label may be different depending on the browser you use) > locate and open the .doc, .docx or .rtf file.
-
Select a template from the Document Style list.
This template adds a style to the document, such as your firm's letterhead or logo. See Apply a document style and Set up document styles for more information.
- Click Preview to see how the letter looks, then click Close to continue with the mail merge.

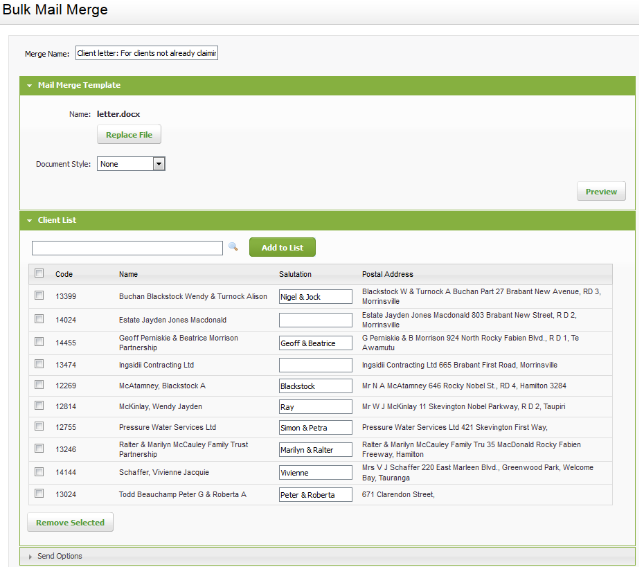
- Click the Client List section heading to display its settings.
- Use one of these methods to select the contacts you want to include in the mail merge:
- Add contacts one at a time:
- In the box, start typing the contact name to see a list of suggestions, then click the name of the contact you want to include. Alternatively, click the Search button
 to search for and select a client.
- Click Add to List.
- Repeat the above steps until you have added all the required clients to the list.
- In the box, start typing the contact name to see a list of suggestions, then click the name of the contact you want to include. Alternatively, click the Search button
- Add contacts in bulk:
- Click the Add Contacts From Filters button.
- Use the filters to define the required list of contacts.
- Click Next - you will see a list of all the contacts that meet the filtering criteria.
- Clear the check boxes for any contacts you do NOT want to include, if applicable.
- Click Add to Client List.
- Add contacts one at a time:
- Click the Send Options section heading to display its settings.
(Currently, the only option available is Download content to computer (Microsoft Word format). Other options are coming soon)
You can save and close the merge, if you want to come back to it later. Your settings are saved to your user account. You can access the saved merge by clicking the Add Bulk Mail Merge button again. You can also delete the merge, if it is no longer required.
- Click Start Merge.
The merge is then queued for processing and you can view its status in the Task Centre.
When it is completed, a download link for the Word document of merged letters becomes available in the Task Centre. You can then download, print and mail it to your clients.