View validation points
If the Validation Points button is inactive, it means there are no validation points for that specific workpaper.
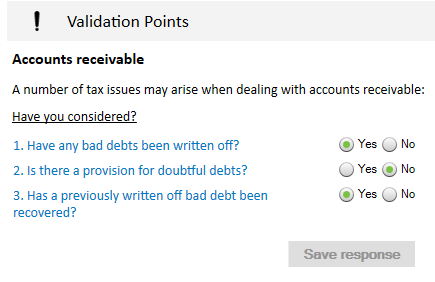
On the CCH Workpapers ribbon, click the Validation Points button. The validation tool panel will open with your firm's custom checklist of issues for you to consider.
Use the radio buttons to record your response and then click Save response, so the workpaper reviewer can see that you have considered these important issues.
Custom Validation Points
Create your own validation points specific to your firm. Access the Custom Validation Points sheet from the General section of the Setup sheet – there is an option to Show the Custom Validation Points sheet.
To add custom validations:
- Enter the questions / comments that you want your team to consider when completing a particular sheet (or sheets). If required, enter the url for associated information related to the questions.
- Assign the questions (or validation points) to particular workpaper(s)
- Click the assign link next to the validation point. The assignment dialogbox will appear. Select workpaper(s) to assign your validation points to and click Select.
- The assignments will be added to the Assignments Made table.
- Update the Section Details information.
- Enter the Heading for the custom validation points to be shown in the validation points panel e.g.[FIRM NAME] Validation Points
- Enter the description for the custom validation points to the shown in the validation points panel e,g, Validation points designed specifically by [FIRM NAME]
- Hide the Custom Validation Points sheet again from the Setup sheet option to prevent editing by team members.