Settings - Installation; Contacts - View, Add and Edit Contacts
After you add dynamic fields for contacts into your CCH iFirm site, you can import data into those fields via a .csv file.
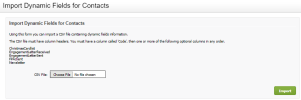
Click Settings > Installation > Import Dynamic Fields for Contacts.
The Import Dynamic Fields for Contacts page displays a list of the fields that can be imported. These are the fields that have been manually added by your firm. See Add dynamic fields for contacts.
- Prepare the .csv import file:
- Add a new worksheet in Microsoft Excel and save it as a .csv file.
- Type a column header called Code (mandatory).
- Copy the dynamic fields from the list on the Import Dynamic Fields page in your CCH iFirm site and paste them as column headers in the .csv file.
- Populate the rows of the worksheet with the relevant data, starting with the client code (for Yes/No fields, use Y/N in your worksheet).
- Save and close the .csv file.
- Click Choose File or Browse (button label may be different depending on the browser you use), locate and open your .csv file.
- Click Import.
- Check that the data was imported:
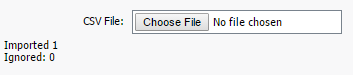
- A message displays on the bottom left-hand side of the page to confirm that your data was imported successfully..

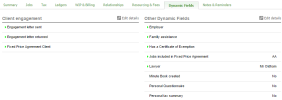
- Open the Dynamic Fields tab in the client record in Contacts to view the imported dynamic fields data:
- A message displays on the bottom left-hand side of the page to confirm that your data was imported successfully..