F1 Bank Reconciliation
The bank reconciliation is used to ensure the bank balance in the general ledger matches the balance in the client’s bank account as at balance date.
Where the balances in the general ledger and on the bank statements match, depending on your firm it may be sufficient to add a link to the bank statement as at balance date as confirmation of reconciliation. To do this , use the Add Custom Worksheet functionality on the Workbench sheet.
Check balances
- Check all bank statements have been received from the client.
- Enter bank account name and number if not automatically populated in row 10 .
- Find the bank statement which displays bank balance as at balance date.
- Enter date of bank statement and closing balance in row 12.
- Enter account code of bank statement in cell G18 if not already populated .
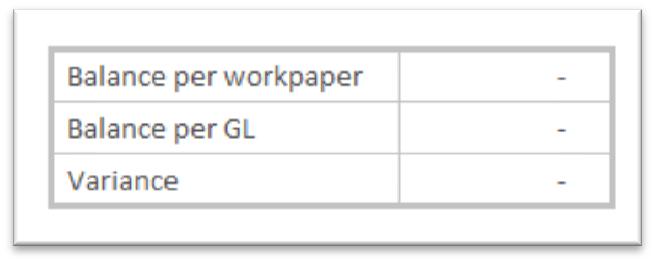
- Check variance: does balance in general ledger match bank statement?
- If yes, reconciliation complete, attach bank statement or bank reconciliation report as a supporting document.
- If no, check all transactions have been entered .
Missing transactions
Check whether bank transactions have been entered into the general ledger. If all transactions have been entered move to the next step below ( Reconcile outstanding items )
To upload electronic statements, save your statement as a CSV file and follow your accounting software instructions to upload.
To manually enter transactions, follow your accounting software instructions or open the F1 workpaper and create an automatic journal to upload into your accounting software.
Reconcile outstanding items
- Review cheque book stubs to identify unpresented cheques:
- Check post balance date bank statements for items that have been written pre balance date but were presented to the bank post balance date.
- Check off cheque book stubs against bank statement to identify which cheques have not yet been presented to the bank.
- Enter any unpresented cheques details into the table provided:
- Date – The date the cheque was written.
- Chq # - Insert cheque number from the bottom of the cheque stub.
- Description – Enter the description from the cheque stub, if not identify from associated invoice/receipt.
- Code – Enter the account code of the item purchased.
- GST? – Indicate whether or not the item included GST. Enter N for No.
Gross – Enter the amount of purchase entered into the cheque book stub.

- Review deposit book to identify any outstanding deposits:
- Check post balance date bank statements for items that were received pre balance date but were presented to the bank post balance date.
- Check off deposit book stubs against bank statement to identify which cheques have not yet been presented to the bank.
- Enter any outstanding details into the table provided:
- Date – The date the cheque was written.
- Chq # - Insert cheque number from the bottom cheque stub.
- Description – Enter the description from the cheque stub, if not identify from associated invoice/receipt.
- Code – Enter the account code of the item purchased.
- GST? – Indicate whether or not the item included GST. Enter N for No.
Gross – Enter the amount of purchase entered into the cheque book stub.
- Check the variance: does balance in general ledger match bank statement?
- If yes, reconciliation complete, attach supporting documents.
If no, compare bank reconciliation or transaction report against bank statements for other missing transactions and enter into the appropriate table.
Create journal
If any items have been entered into the workpaper, create a journal to make the appropriate adjustments to the general ledger. See Create a journal automatically
